Continue your contact project.
Your example
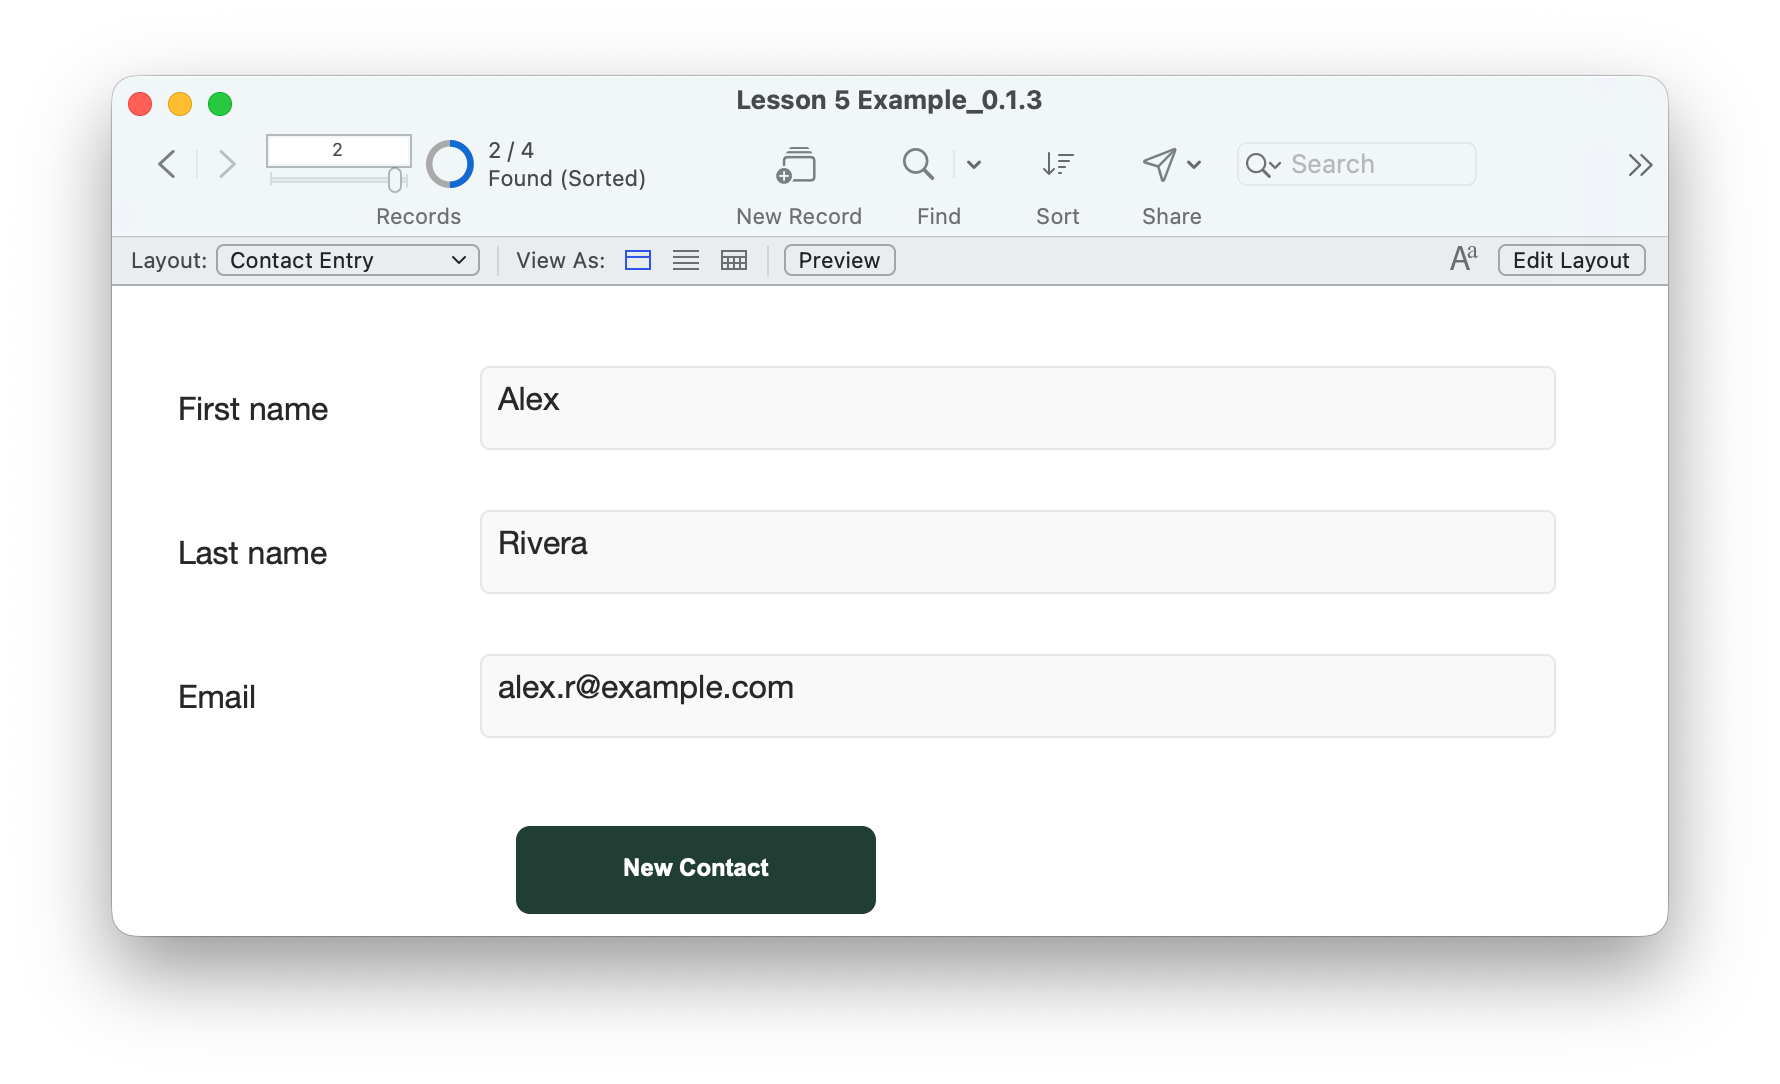
The screenshot below shows the completed New Contact button. Use it to compare with your own layout.
Continue your completed lesson 4 file. Finish editing, close it and make a backup, then reopen your working file. Choose Browse mode, select Contact Entry and choose View → View as Form. Use Records → Show All Records and confirm the four fictional contacts.
You will add a button and two small scripts. No new table or field is needed. This lesson uses the existing built-in theme.
Download completed example ↓Example 0.1.3 includes the finished button and scripts, with four contacts before the practice activity. To build along, use your lesson 4 file or its optional fallback. In the completed example, inspect the existing scripts and button instead of adding duplicates. It retains the earlier hidden preparation script and developer automation privileges.
STEP 1
Read the action from top to bottom.
A script is an ordered list of steps. The main sequence for this button is:
- Go to Layout [Contact Entry] establishes the Contacts table context.
- New Record/Request creates a blank contact in Browse mode.
- Go to Field [Contacts::FirstName] puts the cursor in the existing field.
Order matters. Creating a record before selecting the target layout can create it in the wrong table in a larger app. This example first checks that you are in Browse mode, because New Record/Request adds a search request in Find mode.
UI: button handler
The button calls a short handler. It asks the worker to run and displays any returned message.
Controller: worker
The worker performs the record steps and returns a message if it cannot finish.
These folder names are an organization convention for our project, not special FileMaker modes.
STEP 2
Create the worker, then its caller.
- Open Scripts → Script Workspace. Use File → New Folder to create a folder named Controller.
- With that folder selected, create a new script named Contacts | New Contact. Enter the steps below in order. Type a step name in the script editing pane and choose the matching step; use its options to enter a calculation or choose a target.
- For Go to Layout, choose Layout and select Contact Entry from the layout list. For Go to Field, select Contacts::FirstName and enable Select/perform.
- Add the If/End If pairs and Exit Script results shown below. FileMaker may insert End If automatically; keep one matching End If per If.
The list is a reading guide, not plain text you can paste as a complete FileMaker script. Quoted messages are text calculations. An empty result is two double quotes: "".
FileMaker script
# PURPOSE: Create one Contacts record and enter FirstName.
# HISTORY: Add today’s date and your initials.
If [ Get ( WindowMode ) ≠ 0 ]
    Exit Script [ Text Result: "Choose Browse mode, then click New Contact again." ]
End If
Go to Layout [ "Contact Entry" (Contacts) ]
If [ Get ( LastError ) ≠ 0 ]
    Exit Script [ Text Result: "Could not open Contact Entry. Check the layout name." ]
End If
New Record/Request
If [ Get ( LastError ) ≠ 0 ]
    Exit Script [ Text Result: "Could not create a contact. Review any FileMaker message before retrying." ]
End If
Go to Field [ Select/perform; Contacts::FirstName ]
If [ Get ( LastError ) ≠ 0 ]
    Exit Script [ Text Result: "Contact created. Click First name to begin entering data; do not click New Contact again." ]
End If
Exit Script [ Text Result: "" ]
Get ( WindowMode ) returns 0 in Browse mode. Get ( LastError ) reports the previous step’s error; 0 means no error. Each check stays immediately after the action it checks. Exit Script stops this worker and returns its message to the caller. These checks do not undo a record that was already created.
- Save with Command-S. Create another folder named UI and, inside it, a script named Contacts | New Contact Button Pressed.
- Add the steps below. In Perform Script, select the worker you just saved and leave its parameter empty.
- For Show Custom Dialog, set Title to
"New Contact", Message toGet ( ScriptResult ), and use one OK button. No input fields are needed. - Save. In Script Workspace’s Manage Scripts view, clear the Include in menu checkbox for both new scripts. They remain available to buttons and in Script Workspace.
FileMaker script
# PURPOSE: Run New Contact and explain any returned error.
# HISTORY: Add today’s date and your initials.
Perform Script [ "Contacts | New Contact" ]
If [ Get ( ScriptResult ) ≠ "" ]
    Show Custom Dialog [ "New Contact"; Get ( ScriptResult ) ]
End If
The worker returns empty text on success, so the handler has nothing to display. Save both scripts and close Script Workspace. No startup script or full-access execution option is needed.
STEP 3
Give the action a visible home.
- Choose View → Layout Mode on Contact Entry.
- Choose the Button tool from the toolbar’s button-tool pop-up. Draw a button below the Email field, leaving space around it.
- In Button Setup, choose a text label and enter New Contact.
- Set Action to Perform Script. Select Contacts | New Contact Button Pressed, leave the script parameter empty and confirm.
- Return to Browse mode, save the layout when prompted, and use Form View. The button belongs to this layout; it will not appear as a table column in Table View.
The label and action are separate settings. A button can say New Contact yet do nothing if no action was assigned. Double-click it in Layout mode to inspect Button Setup.
YOUR TURN / ABOUT FIVE MINUTES
Add one contact with one click.
- In Browse mode and Contact Entry Form View, use Show All Records and note the total: four in the supplied example.
- Click New Contact once. Expect a new blank contact and the insertion point in First name. The total should increase by one.
- Enter Jamie, Chen and jamie.chen@example.com. Use Tab between fields, then click a blank area outside the fields to commit the record. Respond to any validation message before continuing.
- Select Contacts and Table View. Show All Records. Confirm Jamie appears once alongside the original four contacts with the complete email address.
- Return to Contact Entry and Form View. Close and reopen your working file, show all records and confirm Jamie remains.
Do not click New Contact again to save: another successful click adds another record. If the count does not change or a message appears, stop and inspect the script target and step order before retrying.
Compare your result
With the supplied four-record starting state, the final total is five. Jamie has a new automatically generated primary key, and the original contacts remain. The scripts do not fill in names or email for you. The completed download deliberately starts before Jamie is added.
A QUICK REVIEW
Check your understanding.
Choose one answer per question. Read the explanations and retry whenever you want.
Answers stay in this page’s memory. No account is needed. We count quiz submissions without collecting answers or scores.
Give each contact a history.
You can now connect a button to a script and explain its steps. Lesson 6 will introduce a related Notes table so one contact can have several notes. Keep your working file and continue to lesson 6 ↗.
Return to the course outline ↗Further reading
Checked against current Claris Help on 5 October 2026.